
The 3-Step Hygiene Protocol to Clean Used Thrift Sneakers Like a Pro
- Skip the Washing Machine Hot water cycles destroy vintage adhesives and warp midsoles — hand-cleaning in sections is the only safe method for used sneakers.
- Odor Lives in the Foam Surface cleaning alone won't fix the smell — you need a plant-based spray that penetrates the interior foam to break down odor compounds at the source.
- Replace Worn Insoles If insoles are visibly compressed or discolored, a fresh $10 pair beats spending time trying to clean something that's past saving.

You just scored a pair of vintage Jordans on Grailed for $40. The colorway is perfect. The shape is near-mint. You open the box and then — it hits you. That smell. It's a very specific, slightly sweet, slightly damp, deeply personal smell that tells you exactly one thing: someone else wore these shoes. A lot.
Here's the thing most thrift sneaker guides get wrong. They tell you to throw them in the washing machine or soak them in hot water. And if you do that, you'll destroy the very thing that makes vintage sneakers valuable. Hot water wrecks vintage adhesives, warps midsoles, and can split a shoe apart at the seam. Suddenly your $40 deal becomes a $40 mistake.
So what actually works? After testing a bunch of methods on real thrift finds — including a pair of mid-80s running shoes that smelled like they'd lived through multiple gym memberships — here's the exact protocol that cleans, deodorizes, and restores used sneakers without touching a washing machine.
Step 1: Remove the Insoles and Do a Full Visual Inspection
Pull the insoles out immediately and inspect the interior, outsole, and any mesh panels for mold, mildew, or deep grime before touching anything else. This tells you exactly what cleaning approach you need.
Seriously — don't skip this. The insoles are where 90% of the odor lives. They're little sponges that have absorbed months (or years) of foot sweat, and no amount of surface cleaning will fix the smell if you leave them in.
Set the insoles aside on a clean surface. Now look inside the shoe with a flashlight or your phone flashlight. You're checking for:
- Dark spots or fuzzy growth (that's mold — it needs specific treatment)
- Heavy grime buildup along the heel counter
- Cracked or peeling interior lining (common in older shoes)
- Any foreign material — yes, this happens
While you're at it, flip the shoe over. Check the outsole for pebbles, gum, or anything packed into the tread. A stiff-bristled brush handles this well — just scrub the outsole dry to knock out loose debris before any moisture hits the shoe.
This inspection step takes five minutes and saves you from doing the wrong kind of cleaning. If you see mold, you'll treat it differently than if it's just regular odor. If the interior lining is cracked, aggressive scrubbing will make it worse. Know what you're dealing with first.
What You'll Need
- Stiff-bristled brush (for scrubbing outsoles and tread)
- Microfiber cloth (for damp-wiping uppers and interior)
- Extra Strength Shoe Deodorizer Spray Check Price →
- Newspaper (for stuffing shoes while they air dry)
Step 2: Spot-Clean the Uppers and Interior Without Getting Them Soaking Wet

The safest way to clean used sneaker uppers is with a damp (not wet) microfiber cloth and a small amount of mild soap — working in sections and letting each area dry before moving on. Avoid saturating any part of the shoe, especially the toe box and heel where adhesives are most vulnerable.
This is where people go wrong. There's a huge difference between "damp" and "wet," and vintage adhesives care about that difference a lot. Heat-activated shoe adhesives can soften and fail when exposed to prolonged moisture or warm water — which is exactly why the washing machine method is so destructive.
Here's the method that works:
Mix a tiny amount of mild dish soap into a bowl of room-temperature water. Dip your microfiber cloth in, wring it out until it's just barely damp, and wipe down the uppers in small sections. For mesh panels or textured areas, a soft toothbrush does a better job than a cloth — it gets into the weave without pulling it apart.
For the interior, use the same damp cloth to wipe down the heel counter and toe box. Don't push the cloth deep into the shoe and scrub — that traps moisture in a place that can't dry properly. Light, controlled strokes only.
If there's visible mold, a solution of one part white vinegar to one part water applied with a cotton swab is your best spot treatment. Wipe it on, let it sit for 60 seconds, then wipe it off. The vinegar neutralizes the mold without damaging most materials. According to the CDC's guidance on mold, non-porous surfaces cleaned with appropriate agents can be effectively treated — just make sure you let the shoe dry completely afterward.
Once you've cleaned the uppers, stuff the shoes loosely with dry newspaper and let them air dry at room temperature. No direct sunlight. No hair dryer. No radiator. Just patience — usually 2 to 4 hours is enough before you move to Step 3.
Before you spray anything into a thrift sneaker, leave the insoles out and let the bare shoe interior sit in indirect sunlight for 20 to 30 minutes. UV exposure naturally breaks down some of the organic residue in the foam — and a slightly warm interior absorbs the deodorizer spray more deeply than a cold, damp one. It's the one prep step most guides skip entirely, and it makes a real difference in how well the spray penetrates.
Step 3: Neutralize the Odor at the Source — Not Just the Surface

The most effective way to eliminate odor from used thrift sneakers is to treat the interior directly with a plant-based deodorizing spray after cleaning and drying, then allow the shoe to air out overnight before wearing.
You've cleaned the outside. You've wiped down the interior. But the smell? It's still there. And it's going to keep being there until you actually address what's causing it.
Foot odor in shoes isn't really about dirt — it's about the organic residue that builds up in the foam and fabric over time. Once your shoes are clean and dry, this is where a proper deodorizer earns its place in the protocol.
We tested a few approaches here. Baking soda works okay as a short-term absorber, but it doesn't actually neutralize odor compounds — it just masks them temporarily. Activated charcoal inserts help with moisture but don't penetrate the foam. The thing that actually worked, consistently, was a direct spray into the interior of the shoe using a natural enzyme-based formula.
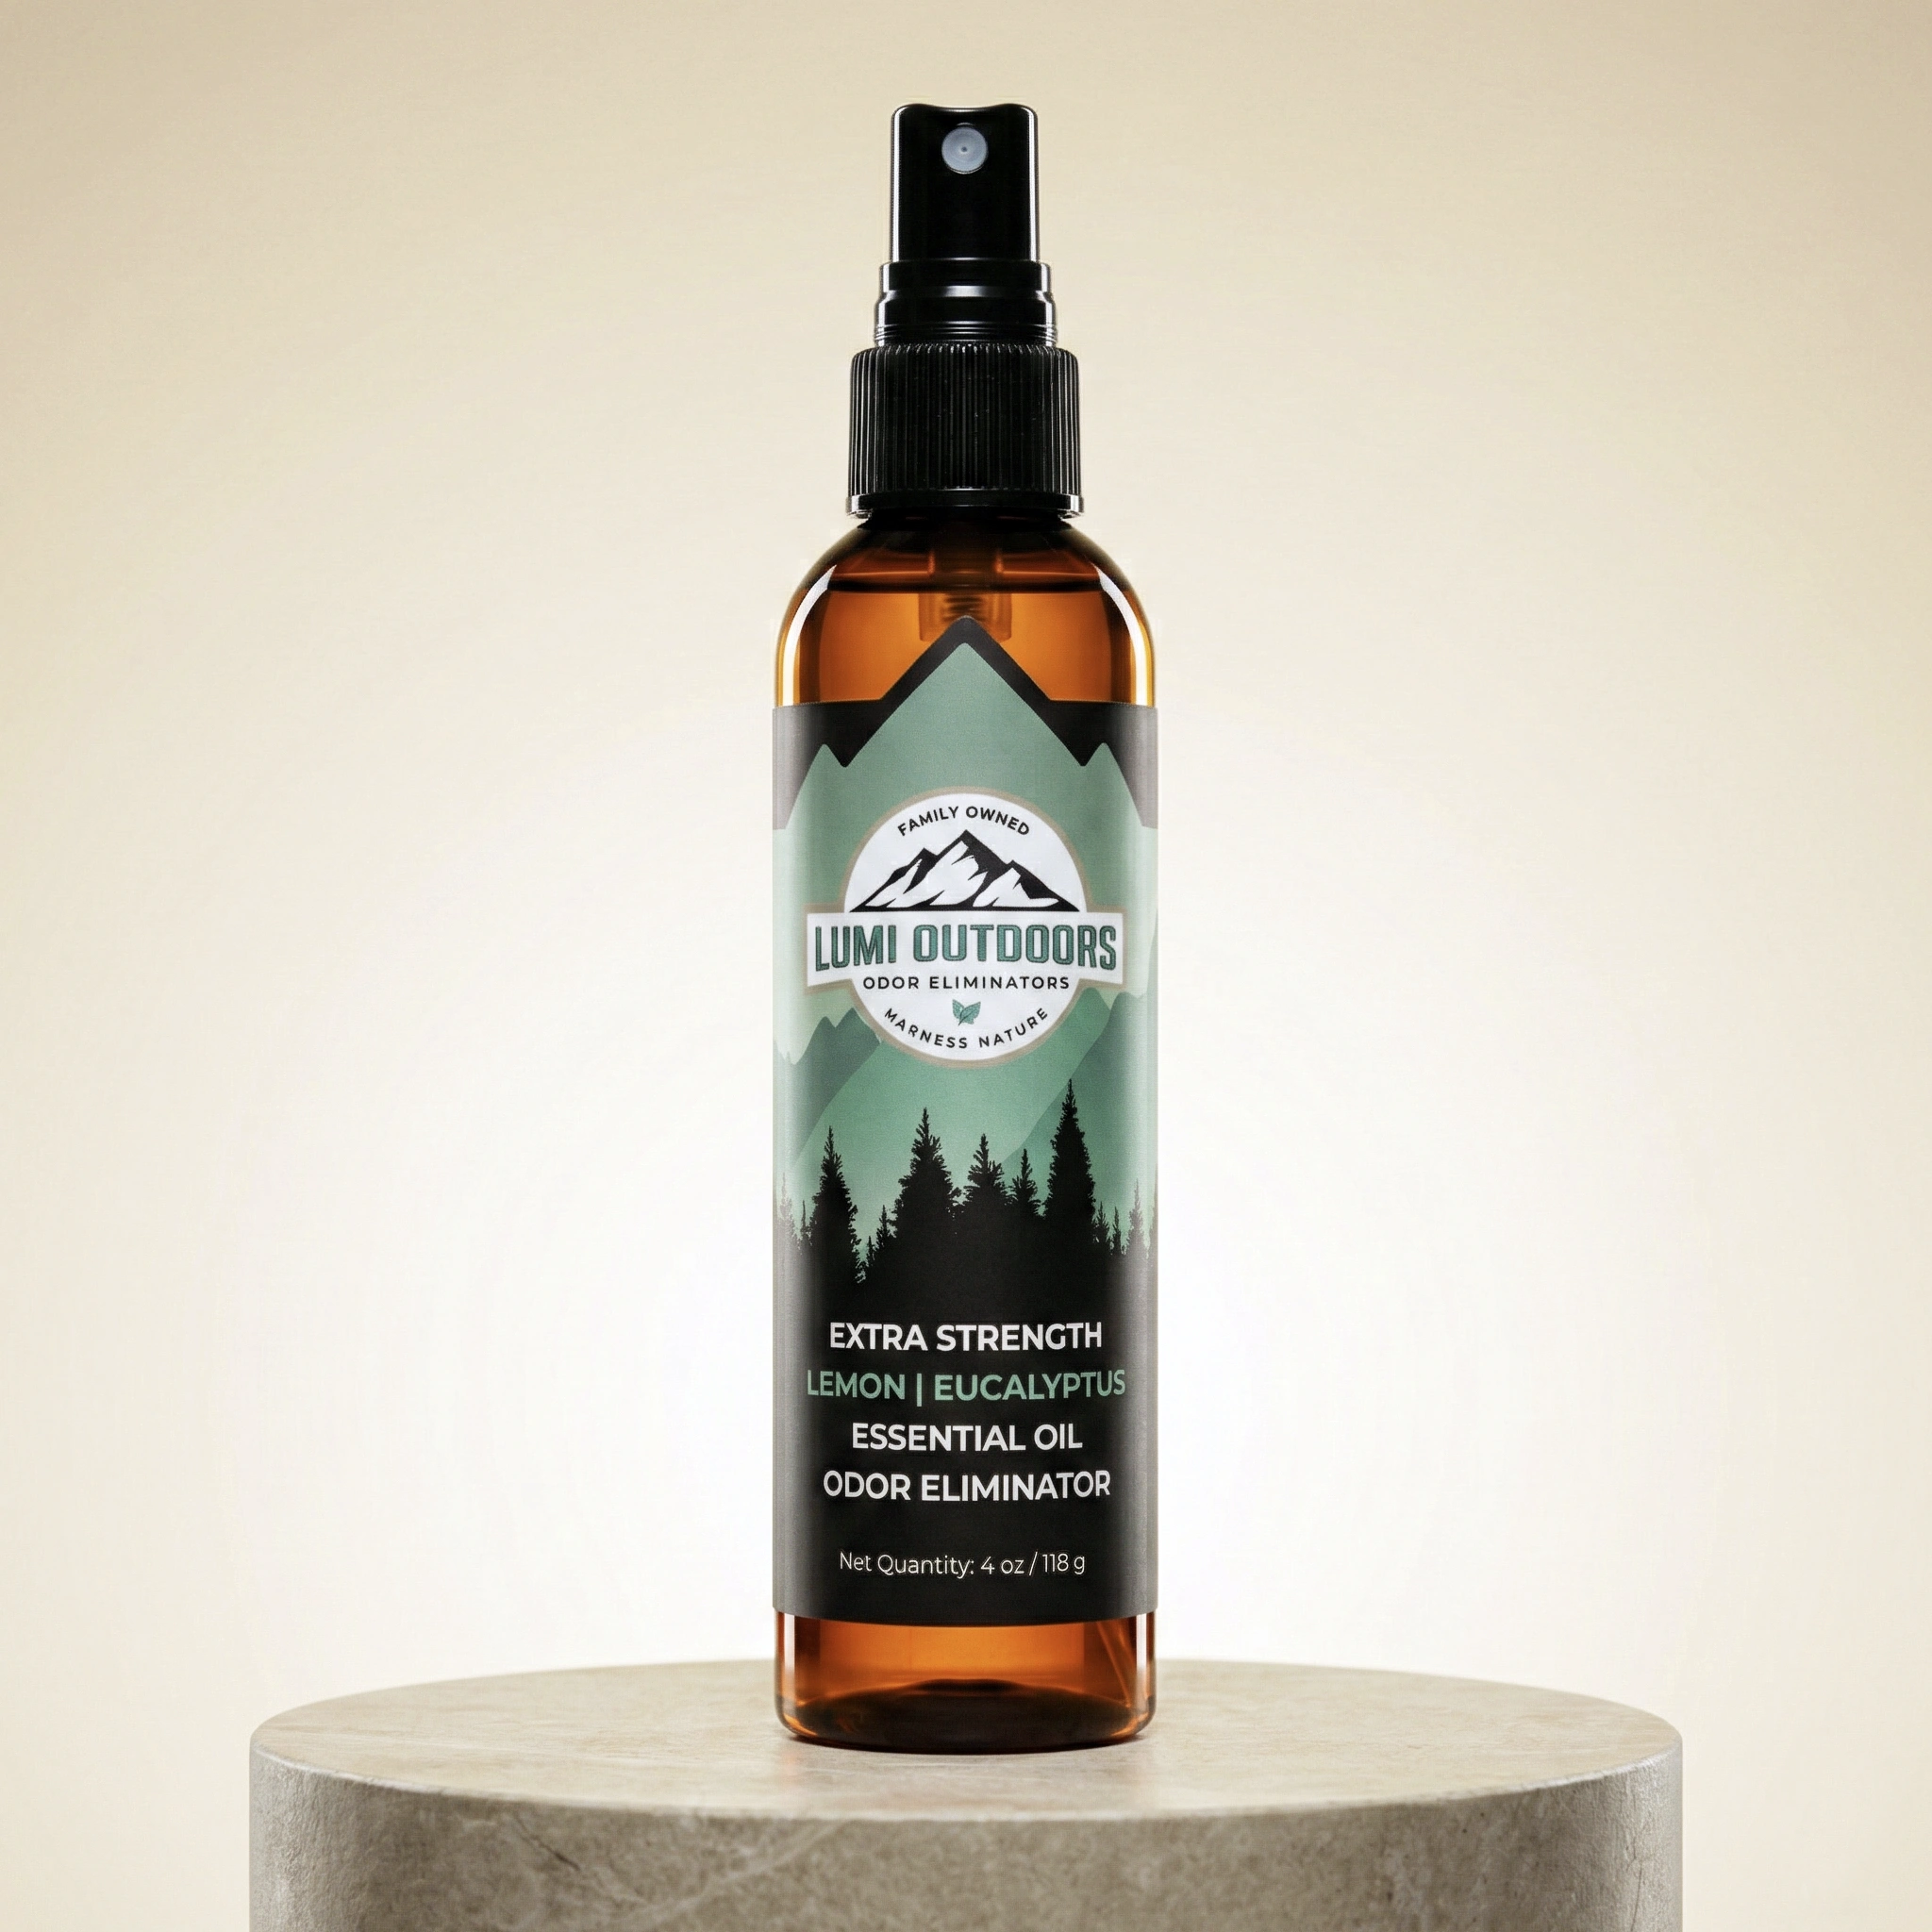
We recommend the Extra Strength Shoe Deodorizer Spray for thrift finds with serious odor history. The lemon and eucalyptus formula goes into the foam and breaks down the organic compounds that cause the smell — not just covering it with a scent. Two to three sprays directly into each shoe, a few more onto the insoles, and then let everything sit overnight. By morning, the difference is real.
If the shoes you picked up have milder odor — maybe they're newer or less worn — the Natural Lavender Tea Tree Shoe Deodorizer Spray is a gentler option that still does the job without the stronger eucalyptus scent. It's also a good choice if the shoes are going to a kid or someone with scent sensitivities. If you want to understand why pure tea tree oil alone isn't enough, this breakdown of why pure tea tree oil falls short explains it well.
After the overnight treatment, reinsert the insoles (or swap them for fresh aftermarket ones if they were too far gone), and your shoes are ready to wear.
Nothing's perfect. Here's what worked and what didn't:
- Genuinely eliminates odor rather than masking it — the difference is noticeable by morning
- Safe on vintage and delicate shoe materials including leather, suede, and mesh
- Plant-based formula means no harsh chemical smell after application
- Works on insoles, interior foam, and fabric lining in a single treatment
- Doubles as a daily maintenance spray to keep cleaned shoes fresh long-term
- Severely neglected thrift shoes may need two rounds of treatment overnight before odor is fully gone
- The lemon-eucalyptus scent, while natural, is strong on first application — some users prefer the lavender variant
What About the Insoles — Should You Replace Them or Clean Them?
Replace the insoles if they show visible discoloration, have a persistent smell after cleaning, or are noticeably compressed. Cleaning original insoles is worth attempting only if they're lightly worn and structurally intact.
Honestly, most insoles in heavily used thrift sneakers are past saving. They've compressed to the shape of someone else's foot, and the foam has absorbed so much over time that no amount of cleaning fully resets them. For $10 to $15, a fresh pair of aftermarket insoles is a better investment than fighting a losing battle.
If you want to try saving them: hand-wash with mild soap, rinse thoroughly, and air dry flat for at least 24 hours. Then spray them directly with your deodorizer before reinserting. The same principle applies to flats and slip-ons — the insole is almost always the culprit.
One more thing: if your thrift find has leather or suede insoles (common in vintage dress shoes that get resold), do not wet them. Wipe with a barely damp cloth only, then condition with a tiny bit of leather conditioner. Suede insoles can be lightly brushed with a dry suede brush.
How Do You Maintain Thrift Sneakers Long-Term So They Stay Fresh?
The best long-term maintenance routine for used sneakers is a quick deodorizer spray after each wear combined with proper storage — not stacked in a pile, not sealed in a bag, but in an open, ventilated space where moisture can escape.
Once you've done the deep clean, keeping them fresh is much easier. The mistake most people make is treating the clean-up as a one-time event. Shoes continue to accumulate moisture every time you wear them. Without a routine, you'll be back to that mystery smell within a few weeks.
After each wear: pull the insoles, let the shoes breathe for an hour, and give them a quick spray. That's it. Takes 30 seconds. The Natural Citrus Tea Tree Shoe Deodorizer Spray is ideal for this kind of daily maintenance — light enough for regular use, with a clean scent that doesn't overpower. You can read more about how even regular washing doesn't address the root issue if you're dealing with performance sneakers alongside your thrift finds.
For storage, avoid sealed plastic bins unless you've added a desiccant pack. Moisture needs somewhere to go. A shoe rack in a ventilated closet, or even just leaving them out in the open, is better than boxing them back up immediately after wear.
We compared the natural spray approach to standard aerosol fresheners to see if there was a meaningful difference. I tested both side-by-side for a week. Here's what happened:
| Feature | Extra Strength Shoe Deodorizer Spray | Standard Aerosol Freshener |
|---|---|---|
| Odor Elimination | Neutralizes at the source with plant-based enzymes | Masks odor with synthetic fragrance |
| Safe on Vintage Materials | Yes — gentle on leather, mesh, and suede | Chemical propellants can dry out and crack leather |
| Scent After Use | Clean lemon & eucalyptus that fades naturally | Heavy synthetic scent that can linger unpleasantly |
| Ingredients | 100% plant-based, no parabens or harsh chemicals | Synthetic chemicals, artificial fragrances |
| Long-Term Effectiveness | Odor doesn't return after treatment | Smell returns within hours as masking fades |
| Price Per Use | Moderate — concentrated formula goes a long way | Low upfront, but frequent reapplication needed |
The full protocol works. A weekend afternoon to deep-clean your thrift finds, a consistent nightly spray habit, and you'll have shoes that feel genuinely yours — not like someone else's castoffs. If you're dealing with especially stubborn odors, you're not alone — and the extra strength formula is worth it.
Still smelling someone else's shoes every time you open the closet?
Join 1 Million+ Other People Who Chose Lumi to Conquer Their Shoe Odor.
- DESTROYS ODOR AT THE SOURCE, DOESN'T JUST MASK IT
- ALL-NATURAL & PLANT-BASED INGREDIENTS
- PROUDLY FAMILY-OWNED & MADE IN UTAH
- THE "FRESH CONFIDENCE" GUARANTEE