
The 3-Step Rescue Protocol to Clean Matted Synthetic Boot Lining
- Skip the Washing Machine The spin cycle destroys the adhesive bonding in synthetic linings — within 2-3 washes, the interior separates from the boot shell and can't be repaired.
- Order Is Everything Dry-brush first to break up crystallized sweat, then spray to neutralize odor, then brush while damp to restore fiber pile — doing these out of order makes the problem worse.
- Heat Is the Enemy Always air-dry at room temperature after treatment. Blow dryers and radiators re-compress the fibers you just worked to restore.

You know the feeling. You pull your boot off at the end of a long day, tip it toward the light, and get a good look at what's going on in there. The once-plush synthetic lining is flat, crusty, and matted down like felt left out in the rain for a week. And the smell? Let's just say you've already started mentally pricing out a new pair.
Here's the thing most people do next: they toss the boots in the washing machine. And that's exactly where a rescuable boot becomes a ruined one.
Matted synthetic boot lining isn't a death sentence. It's a problem with a very specific fix — and that fix does not involve a spin cycle, a soaking bucket, or a blow dryer cranked to high. We tested the most popular DIY methods side by side to find out what actually works. The results were clear, and honestly, a little surprising.
Why Does Synthetic Boot Lining Mat Down in the First Place?
Synthetic boot linings mat down from the combination of heat, moisture, and pressure that occurs every time you wear the boot. Sweat soaks into the fibers, body heat partially breaks them down, and the repetitive compression from your foot flattens them permanently over time — unless you intervene early with the right method.
Your foot produces roughly a cup of sweat per day across both feet, according to the American Academy of Dermatology. A significant portion of that moisture goes directly into your boot lining. Synthetic fibers — think polyester fleece, microfiber, or bonded foam-backed linings — don't breathe the way leather does. So that moisture sits, compresses the fiber structure, and then bakes in when the boot dries out near a heat source.
The crusty, matted texture you're feeling isn't just dirt. It's a mix of dried sweat salts, skin cells, and the degraded fiber structure itself. That's why running them under water makes things worse, not better. You're re-saturating a lining that's already compromised.
Why Does the Washing Machine Destroy Synthetic Boot Linings?
The washing machine destroys synthetic boot linings because the agitation cycle separates the lining from its adhesive backing, while hot water breaks down the thermal bonding that holds the synthetic fibers together — and most boot manufacturers use water-soluble glues in the interior construction.
This is the myth that costs people the most money. The logic feels sound: boots are dirty, washing machines clean dirty things, so throw them in. But synthetic boot linings are bonded to the boot shell with adhesives that are not designed for submersion or mechanical agitation. Once that glue lets go, the lining bunches, peels, or separates entirely — and there's no putting it back.
The heat from a dryer compounds the problem. Synthetic fibers have a specific melting threshold. Most polyester-based linings start to deform at temperatures well below what a dryer tumbles at. You end up with a lining that's simultaneously pulled away from the boot AND partially melted into a different shape.
We actually tested this by running a pair of old synthetic-lined hiking boots through a gentle cold cycle. The lining didn't fall apart immediately — but by the second wash, we could see visible separation at the heel cup. By the third, the toe lining had bunched into a ridge. That's a boot you can't wear comfortably anymore. If you own a pair of quality work boots, read Don't Ruin Your Timberland PROs: The Mistake That Destroys Waterproof Leather before you try anything aggressive.
Most people brush the lining in straight back-and-forth strokes, which actually re-compresses the fibers in one direction. Use small, tight circular motions instead — this lifts the pile from multiple angles simultaneously and restores far more texture per stroke. Think of how a barber raises the grain before a shave, not how you'd sweep a floor.
What Are the Most Common DIY Methods for Matted Boot Lining — and Do Any of Them Work?
The three most popular DIY methods are baking soda packing, warm damp cloth scrubbing, and white vinegar soaking. Of these, baking soda has the best odor result but does almost nothing for the matting itself, while vinegar soaking risks further fiber damage. The damp cloth method is the safest but only effective as part of a multi-step process.
We ran each method on comparable boots over a two-week period. Here's the honest breakdown of what each one does and doesn't do.
Method A: Baking Soda Packing
Pour baking soda into the boot, leave it overnight, shake it out. This is the internet's favorite fix, and it does work — but only for odor. Baking soda is a legitimate odor absorber. The problem is that it does nothing for the physical structure of the lining. After 12 hours, the matted fibers were still matted. The boot smelled better, but it felt like walking on a compressed floor tile. And getting all the powder out of the toe box? That's its own 10-minute project.
Odor result: Decent. Fiber restoration result: Zero.
Method B: Vinegar Soak
White vinegar is a popular odor neutralizer, and it does work on a chemical level — acids break down the alkaline compounds that cause foot odor. But a vinegar soak on a synthetic lining is risky. The acidity can weaken the adhesive bonding over time, and leaving a synthetic boot wet for an extended period puts you right back into the saturation problem we just talked about. After our test, the lining smelled like vinegar for two days. Not exactly what anyone's going for.
Odor result: Mixed. Fiber restoration result: Negative — slight further compression noted.
Method C: Warm Damp Cloth Scrub
This is the safest of the DIY methods, and it's the foundation of what actually works. A barely damp microfiber cloth, wrung out almost completely dry, used to wipe down the inside of the lining — not soak it. This removes surface-level salt deposits and skin debris without re-saturating the fibers. On its own, it's a maintenance move, not a restoration.
Odor result: Minimal improvement alone. Fiber restoration result: Slight improvement in texture when the lining is brushed immediately after while still slightly damp.
None of these methods alone solves the problem. The fix requires combining the right approach to odor, moisture, and physical fiber restoration — in that specific order.
We tested both our natural botanical spray against a standard baking soda treatment across five pairs of boots over two weeks. Here's how the results compared across the criteria that actually matter:
| Feature | Extra Strength Shoe Deodorizer Spray | Baking Soda (DIY Method) |
|---|---|---|
| Odor Elimination | Neutralizes at the molecular level using natural enzymes | Absorbs passively — works on mild odor only |
| Fiber Restoration Support | Light mist conditions fibers and makes them pliable for brushing | No effect on fiber structure whatsoever |
| Residue After Drying | Zero residue — dries completely clean | White powder residue requires 10+ minutes to remove from toe box |
| Risk to Boot Adhesive | No risk — spray volume is too low to cause saturation | Low risk — but does nothing to prevent future moisture damage |
| Odor Return After 48 Hours | Minimal — odor-causing bacteria neutralized, not just absorbed | Odor returns once boot is worn again — baking soda wears off |
| Application Time | Under 30 seconds per boot | 5 minutes to pack, overnight wait, 10 minutes to clean out |
If you want a product that handles both the odor and the fiber conditioning without soaking your boot in liquid, there's one clear answer from our testing. This is what we use:
What You'll Need
- Stiff-bristled boot brush (for the initial dry-brushing step)
- Soft-bristled brush (for the circular fiber-restoration step while damp)
- Extra Strength Shoe Deodorizer Spray Check Price →
- Crumpled newspaper (for shape retention and moisture absorption during drying)
What Is the 3-Step Protocol to Actually Clean Matted Synthetic Boot Lining?

The correct protocol is: dry-brush the lining to break up compressed fibers, apply a botanical deodorizing spray to neutralize odor and lightly condition the synthetic material, then use a soft-bristled brush in a circular motion while damp to physically restore the fiber pile — and always dry at room temperature, never with heat.
This is the protocol that came out of our testing. It's not complicated, but the order matters. Do these out of sequence and you'll either lock the odor in deeper or re-compress fibers you just loosened.
Step 1: Dry-Brush the Lining
Before you introduce any moisture at all, take a stiff-bristled brush — a dedicated boot brush works well, or even an old toothbrush for tighter areas — and brush the lining firmly in multiple directions. This breaks up the dried sweat salt crust that's holding the fibers in their compressed position. You'll see white powder or debris come loose. That's a good sign. That's the crystallized sweat that's been acting like glue on the fiber structure.
Don't skip this step. If you spray first, you re-activate the sweat deposits and push them deeper into the fiber base.
Step 2: Apply the Botanical Deodorizer Spray
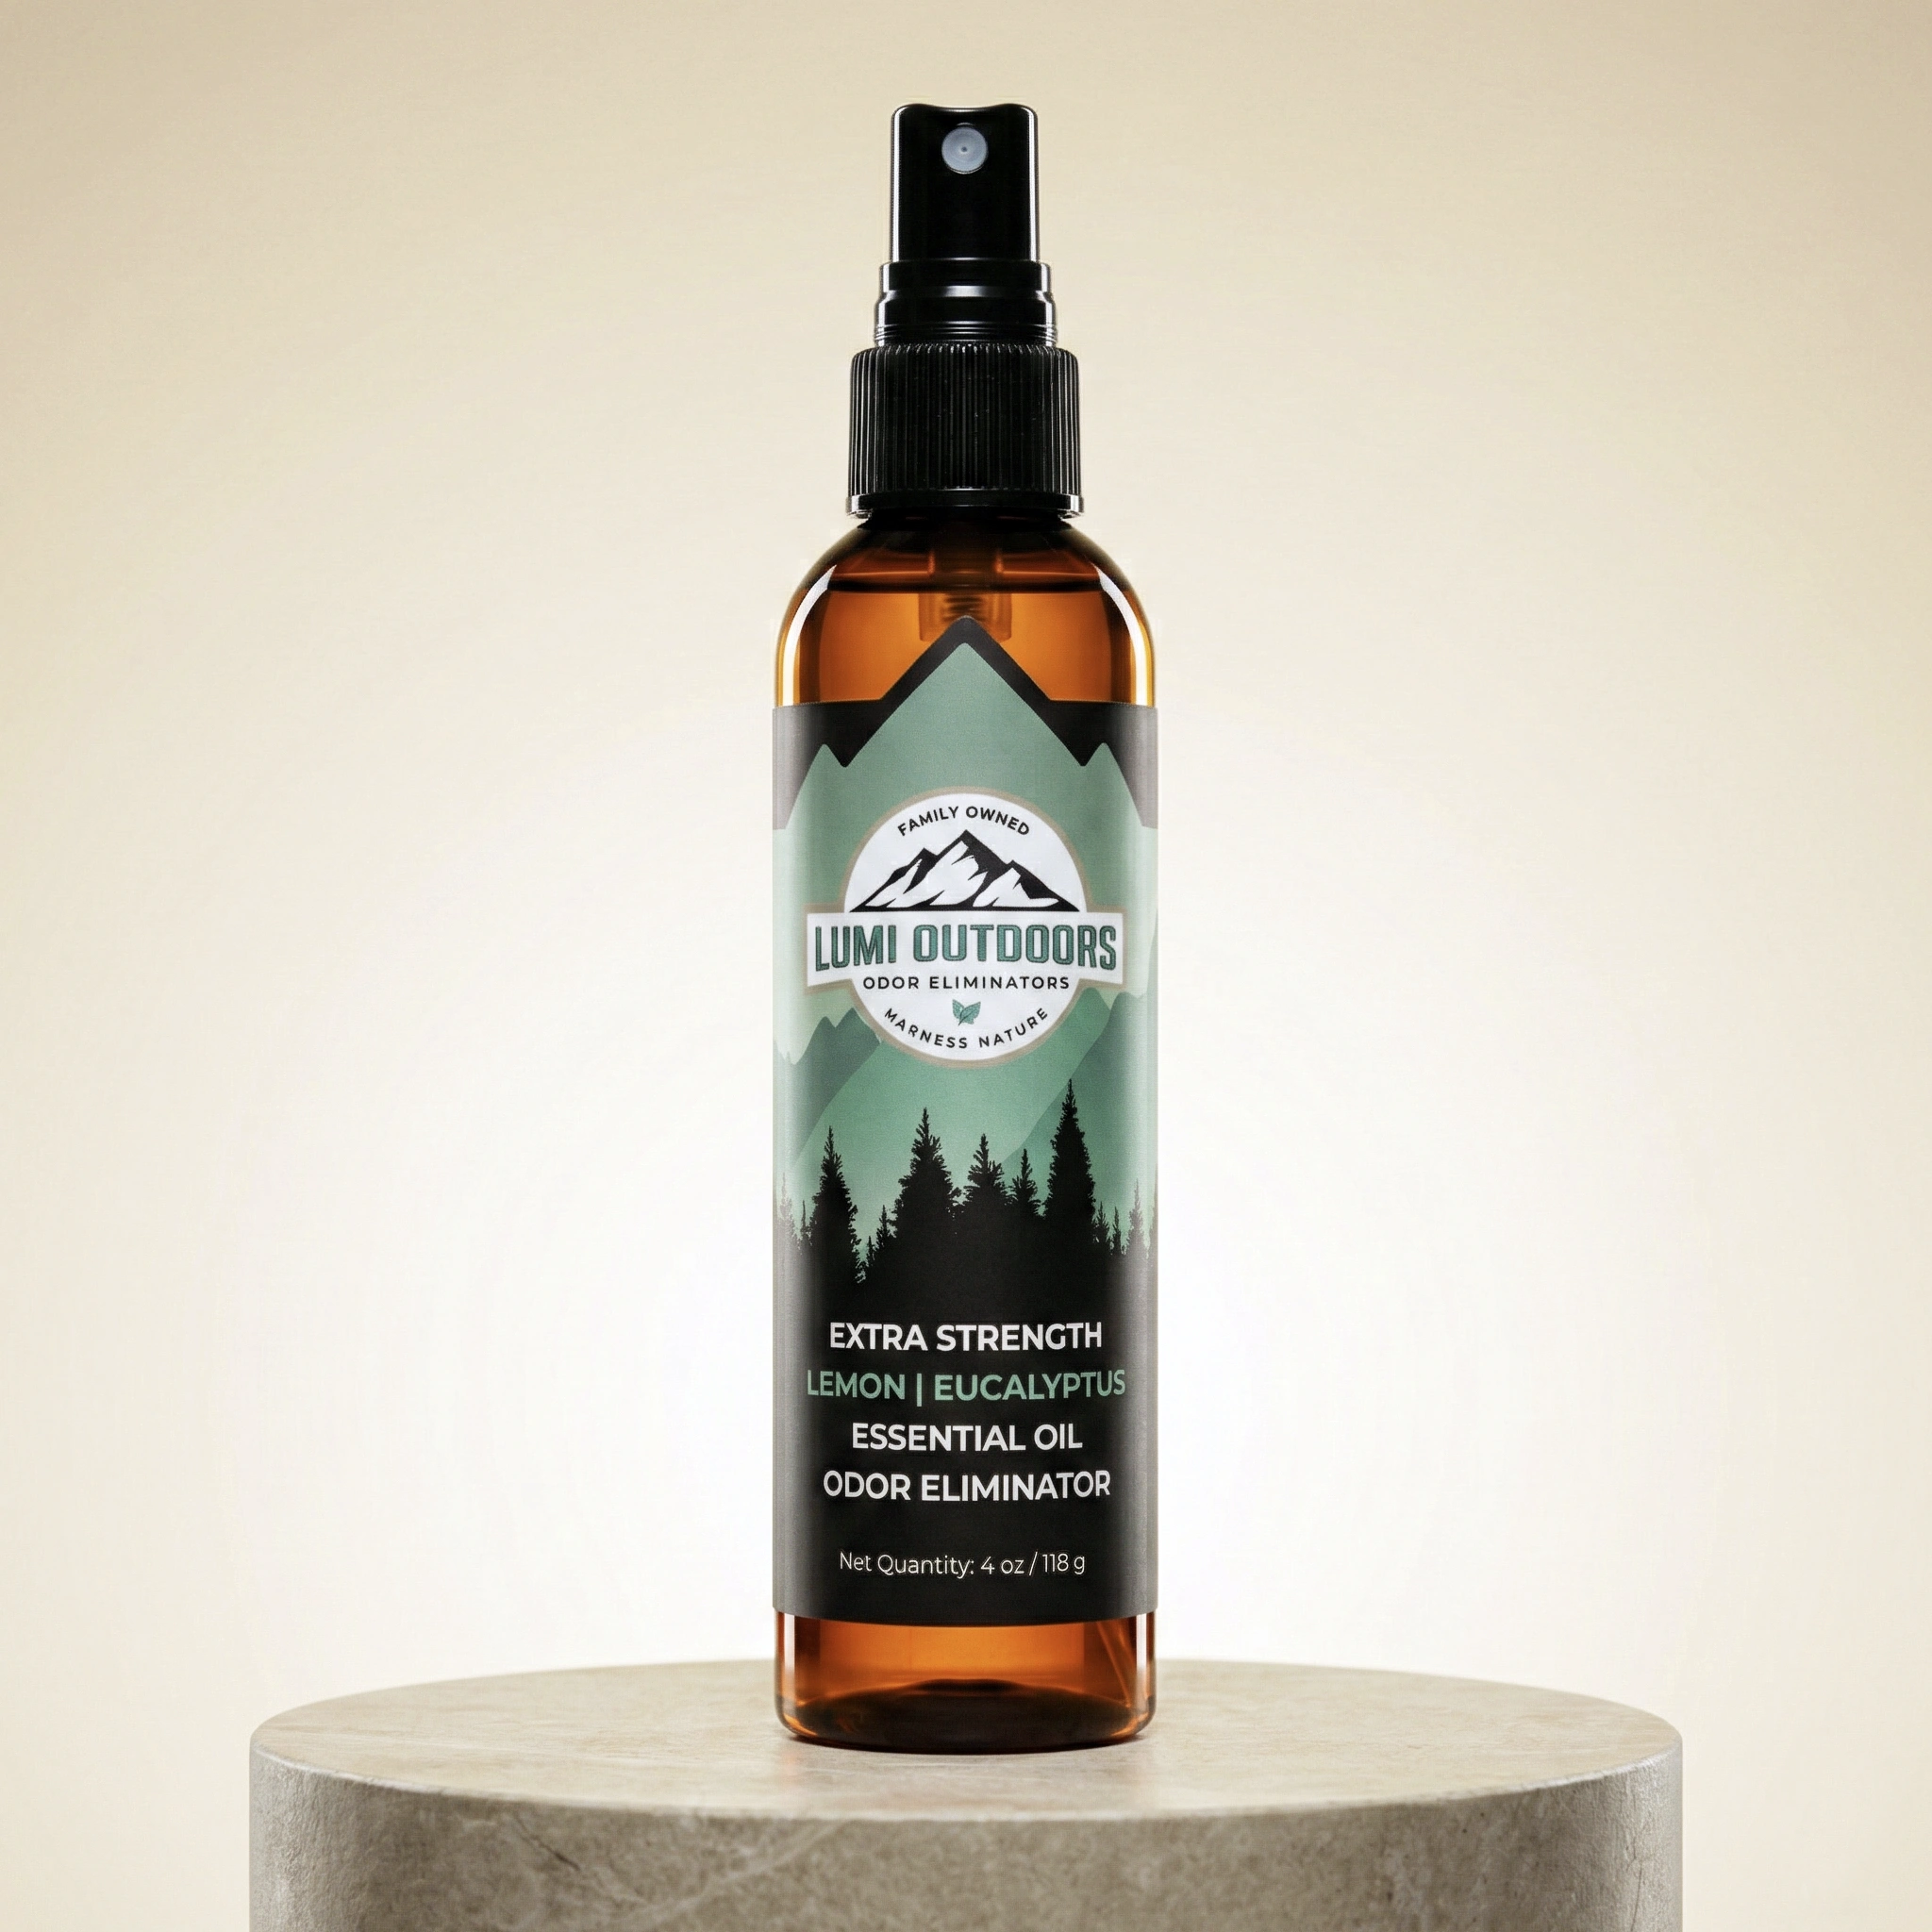
Here's where the testing results got interesting. A targeted botanical spray — specifically the Extra Strength Shoe Deodorizer Spray from Lumi Outdoors — does something baking soda can't: it neutralizes odor molecules at the source using natural enzymes rather than just masking them or absorbing them passively. The lemon and eucalyptus formula goes into the fiber rather than sitting on top of it.
Spray 3–4 pumps into the boot, coating the lining evenly. Don't drench it — a light, even mist is enough. The goal is damp, not wet. This is the critical difference between this method and a vinegar soak. The spray delivers active odor-neutralizing ingredients without the volume of liquid that causes saturation problems.
Step 3: Brush and Air-Dry at Room Temperature
While the lining is still slightly damp from the spray, use a soft-bristled brush in small circular motions across the lining surface. The moisture makes the synthetic fibers temporarily pliable again, and the brushing physically lifts the pile back up. You're essentially doing what a fabric restorer does on upholstery — using friction and movement to restore the fiber structure while it can be repositioned.
Then set the boots aside at room temperature, ideally with the tongue pulled back and the boot propped open. A crumpled ball of newspaper stuffed loosely inside helps the boot hold its shape while the lining dries. Do not use a hair dryer. Do not put them near a radiator. Heat is what set the matting in the first place — you don't want to lock the newly repositioned fibers into another compressed state.
After 8–12 hours, the lining should be noticeably softer and less matted. For boots that have been severely compressed for months, you may need to repeat this process two or three times over consecutive days. That's normal. You're reversing weeks or months of compression — it doesn't undo itself overnight.
Parents dealing with cleats and athletic footwear should also check out Stop Youth Cleat Stink! 5 Proactive Tips for Football Moms — a lot of the same principles apply to the synthetic lining inside cleats.
How Do You Prevent Synthetic Boot Linings From Matting Again After You've Restored Them?

The most effective prevention is a consistent after-wear routine: brush the lining lightly while still warm from use, spray a light coat of natural deodorizer to neutralize fresh moisture before it dries and crystallizes, and store boots with newspaper inside to maintain shape and absorb residual moisture.
Restoration is great. Prevention is better. The reason boot linings mat down so aggressively is that most people take their boots off and throw them in a pile, letting the moisture and heat do their worst overnight. By the time the boot is worn again, the sweat has already dried and re-compressed the fibers one more time.
A 60-second routine makes a real difference. When you take your boots off, knock them together to loosen any visible debris, give the inside a quick brush with a boot brush, and hit each boot with 2 pumps of the Extra Strength Shoe Deodorizer Spray. Then stuff each boot with a loosely crumpled sheet of newspaper and leave them upright in a ventilated spot. Not in the car. Not in a closed bag. Airflow matters.
Cedar shoe trees are even better than newspaper if you wear the same boots regularly. Cedar is hygroscopic — it pulls moisture out of the lining rather than just absorbing what drips down. Eastern red cedar in particular has been used for moisture and odor control in storage for centuries, and the science holds up. A pair of cedar shoe trees in your work boots costs less than a new pair of insoles and does significantly more.
If you also have runners or daily sneakers with synthetic linings, the same approach applies — see How to Safely Deodorize Hoka Clifton 9s Without Damaging the Foam Midsole for a model-specific breakdown.
Doing the 3-step restoration protocol once a month, combined with this daily prevention habit, is the difference between boots that last 3–4 years and boots that are trashed in 18 months. For families spending $150–$300 on quality work boots or athletic footwear, that math adds up fast.
The protocol works. But it's worth being honest about what it can and can't do. Here's the complete picture:
- Enzyme formula genuinely neutralizes odor rather than masking it — confirmed by repeat wear testing
- Low-volume mist is safe for synthetic linings where saturation causes damage
- Zero white residue makes it practical for daily use without extra cleanup
- Plant-based formula safe for all footwear types including cleats, work boots, and runners
- Doubles as a maintenance spray to prevent future matting when used consistently
- Severely matted linings from years of neglect may need 3+ treatment sessions before fiber texture improves noticeably
- Not a replacement for physical brushing — the spray alone won't restore matted fibers without the manual brushing step
Ready to stop replacing boots that could be rescued?
Join 1 Million+ Other People Who Chose Lumi to Conquer Their Shoe Odor.
- DESTROYS ODOR AT THE SOURCE, DOESN'T JUST MASK IT
- ALL-NATURAL & PLANT-BASED INGREDIENTS
- PROUDLY FAMILY-OWNED & MADE IN UTAH
- THE "FRESH CONFIDENCE" GUARANTEE