
Sweaty Climbing Shoes? This 3-Step Protocol Stops the Rot for Good
- Air Out Immediately Pull insoles out and leave shoes open to air right after climbing — trapped moisture is what breaks down the adhesive holding your rand in place.
- Powder Before, Not After Apply talc-free foot powder to your feet before every session to stop sweat from saturating the shoe interior in the first place.
- Spray to Reset A natural enzyme deodorizer spray after each session neutralizes odor-causing bacteria and prevents the cumulative buildup that accelerates shoe rot.

You've probably done it. You peel off your climbing shoes after a hard session, toss them in your bag, and by the time you get home the smell has already taken over the back seat of your car. That's not just sweat. That's a warning sign.
Climbing shoes are uniquely brutal on shoe materials. The rubber rand wraps a tight, sweat-soaked leather or synthetic upper that never really breathes. You jam your feet in without socks. You crank hard, your feet heat up, and moisture gets trapped with nowhere to go. Over time, that trapped moisture breaks down the adhesive holding the rand to the upper — and that's how a $180 pair of shoes starts peeling apart at the toe box.
It's called delamination, and it's one of the top reasons climbers replace shoes years before they should. The rot sets in silently, from the inside out. Most people don't notice until the rubber is already lifting.
The good news? This is almost entirely preventable. Here's the exact 3-step protocol that stops the rot — and what to do between sessions to keep your shoes climbing longer.
Step 1: Remove the Insoles and Air Everything Out Immediately After Climbing
The single most effective thing you can do after a climbing session is pull the insoles out of your shoes and leave everything in open air — not a bag, not a closet, not a gym locker — for at least 2 hours. This stops the moisture cycle that leads to rot and delamination.
Most climbers don't do this. They unrope, shove their shoes in a bag or crash pad pocket, and deal with them later. By the time "later" comes, the insoles have been sitting in a warm, airless pocket for hours, basically slow-cooking the adhesive that holds your rand in place.
Pull the insoles out the moment you're done climbing. Set them beside the shoes, not inside them. Point both shoes opening-up so air can circulate down into the toe box. If you're at an indoor gym, set them on a bench or hook them on your bag straps for the drive home. That 30-minute car ride with the insoles out does more work than you'd expect.
The science behind this is straightforward. The CDC notes that sustained moisture exposure degrades organic materials and creates conditions where odor-causing microbes thrive. Your climbing shoe's glued seams are organic materials. Treat them like it.
A cedar shoe insert works well here too. If you have a pair of uncoated cedar inserts, drop one in each shoe after you pull the factory insole. Cedar is naturally porous and absorbs residual moisture without chemicals. You don't need an expensive version — a basic cedar shoe insert from any sporting goods store does the job.
What You'll Need
- Cedar shoe inserts (for post-session moisture absorption)
- Microfiber towel (to wipe down interior before spraying)
- Natural Foot Powder Check Price →
- Contact cement / Barge Cement (for rand repair if delamination has started)
Step 2: Apply Foot Powder Before Every Single Session

Applying a talc-free foot powder directly to your feet before you put on your climbing shoes is the most effective preventative measure against moisture buildup, odor, and adhesive breakdown — because it stops the sweat before it saturates the shoe's interior.
This step gets skipped constantly. People think odor and rot treatment is something you do after the damage is done. It isn't. Prevention is where the real work happens.
Your feet can produce up to a pint of sweat per day, according to the American Podiatric Medical Association. Climbers wear tight shoes with no socks, so that moisture has exactly one place to go: straight into the upper, the rand, and the glued seams. A good foot powder creates a dry barrier on your skin that slows down that transfer dramatically.
We keep Lumi's Natural Foot Powder right by the climbing bag. It's talc-free, plant and mineral-based, and it goes on smooth — not chalky. Dust it over your feet and between the toes before you lace up. It takes 10 seconds. The difference by the end of a 2-hour session is noticeable: your shoes stay drier, the insoles don't get that soggy, compressed feel, and the smell after your session is much more manageable.
You can also sprinkle a small amount directly inside the shoe before putting it on for an extra layer of moisture control. If you tend to sweat heavily or you're climbing multiple days in a row, do both.
If you're already dealing with heavy cleat or athletic shoe odor in other shoes at home, the same principle applies — check out this guide on stopping youth cleat stink for a broader look at how prevention beats treatment every time.
Most climbers spray the inside of the shoe and call it done. But the rand seam along the toe box — where the rubber meets the upper — is where moisture actually pools and adhesive fails first. After spraying the interior, flip the shoe over and run one quick spray along that external rand seam line. Let it sit for a few minutes before storing. This targets the exact failure point that most deodorizer guides completely miss.
Step 3: Spray the Interior After Every Session Without Fail
Spraying the inside of your climbing shoes with a natural enzyme-based deodorizer spray immediately after each session — before storage — neutralizes odor-causing bacteria at the source and prevents the cumulative buildup that accelerates shoe degradation.
Steps 1 and 2 handle prevention. Step 3 handles the cleanup. Even if you aerate perfectly and powder up beforehand, some moisture and bacteria are going to settle into the shoe material. That's unavoidable. The spray is your reset button.
The key word here is "enzyme-based." You don't want a masking spray that adds a scent on top of bacteria. You want something that breaks down the odor-causing compounds at the molecular level. Lumi's Extra Strength Shoe Deodorizer Spray uses natural enzymes to do exactly that. Two or three sprays into each shoe right after your session, then leave the shoes open to dry. By morning, the bacteria that would have spent all night multiplying have been neutralized.
This is also where a lot of people save money. Climbers who stick to this spray routine consistently report their shoes lasting one to two seasons longer before any sign of rand delamination. The rand adhesive doesn't fail because of normal wear — it fails because it's been saturated and weakened by repeated moisture exposure. Keep the interior dry and clean, and the adhesive holds.
Don't spray and immediately bag. That traps the moisture the spray is trying to displace. Spray, leave open for 30 minutes minimum, then store. If you're heading out the door after spraying, just leave the shoes open in your bag with the top unzipped.
Looking for a similar protocol for your running shoes? The same spray-and-air method works beautifully for performance footwear — here's how it's done for Saucony Rides without damaging the cushioning.
We tested our natural spray against the popular aerosol brands you find at sporting goods stores. The difference isn't just in the smell — it's in what's actually in the can:
| Feature | Natural Foot Powder | Big-Brand Aerosol Spray |
|---|---|---|
| Active Ingredients | Natural plant-based enzymes | Synthetic fragrances & chemical propellants |
| Odor Mechanism | Breaks down bacteria at the source | Masks odor with scent |
| Safe on Shoe Materials | Yes — safe on leather, synthetic, rubber | Can dry out leather and degrade adhesive |
| Family & Pet Safe | Yes — no harsh chemicals | Not recommended around children or pets |
| Residual Smell | Clean lemon eucalyptus, fades naturally | Strong artificial fragrance lingers for hours |
| Price Per Use | Comparable to mid-range aerosols | Often cheaper upfront but less concentrated |
What Actually Causes Climbing Shoe Delamination — and Why Sweat Is the Main Culprit

Climbing shoe delamination is primarily caused by repeated moisture saturation weakening the contact cement adhesive that bonds the rubber rand to the shoe upper — and sweat, not abrasion or overuse, is the number one driver of that moisture exposure.
A lot of climbers blame delamination on cheap shoes or aggressive resoling. Sometimes that's a factor, but the climbers who get the most mileage out of their shoes are almost always the ones who manage moisture obsessively.
Contact cement — the adhesive used in climbing shoe construction — is designed to handle mechanical stress. What it doesn't handle well is prolonged exposure to moisture and acidic compounds. Human sweat is mildly acidic (a pH between 4.5 and 7.5, depending on the person). Over hundreds of sessions, that acidity slowly eats at the bond line.
This is why the toe box almost always delaminates first. It's the part of the shoe that flexes most aggressively, and it's also where sweat pools when you're standing on small footholds with your toes cramped forward. Double the stress, double the moisture exposure, double the failure rate.
The 3-step protocol above directly targets this failure point. Airing out removes the moisture after it accumulates. Foot powder reduces how much moisture gets in during the session. The spray neutralizes the bacterial acids that accelerate adhesive breakdown. None of these steps is complicated. All three together make a real difference.
What to Do If the Rot Has Already Started (Rescue Protocol)
If your climbing shoe rand is already lifting or showing early delamination, you can often stop the progression by thoroughly drying the shoe, regluing the affected area with contact cement, and then committing to the 3-step moisture-management protocol going forward to prevent recurrence.
First things first: if the rand is peeling, stop climbing in the shoes until you fix it. Climbing on a delaminating rand accelerates the separation with every foot placement. A small lift at the toe can become a full peel-back in a single hard session.
Here's the basic rescue approach. Get the shoe as dry as possible — 24 hours of open-air drying, no heat sources. Use a dry cloth to gently clean the glue line where the rand is lifting. Then apply a small amount of climbing-specific contact cement (Barge Cement is the standard) to both the rand and the upper, wait until both surfaces are tacky (about 10 minutes), press them together firmly, and clamp or tape while the bond cures. Let it cure for at least 24 hours before climbing again.
After the repair, start the 3-step protocol immediately. A repaired rand is more vulnerable than the original bond, so moisture management becomes even more important going forward.
Also worth noting: if your shoes have a genuine rubber odor embedded deep in the material at this point, the spray will help but it may take 3-4 consistent applications over a week before it's fully cleared. Be patient with it.
Nothing's perfect. Here's the honest breakdown of this approach before you commit to it:
- Powder + spray combo addresses both prevention and treatment
- All-natural, talc-free formula is safe for shoe materials and adhesives
- Consistent use measurably extends shoe lifespan by reducing moisture damage
- Takes under 2 minutes total per session to execute all three steps
- Requires daily consistency — skipping sessions lets moisture and bacteria accumulate again
- For severely rotted or delaminated shoes, this protocol prevents future damage but won't reverse existing structural failure
The Full Protocol at a Glance — And the Easiest Way to Get Started
The complete 3-step climbing shoe protocol is: immediately remove insoles and air out after every session, apply talc-free foot powder to your feet before every session, and spray the shoe interior with a natural enzyme deodorizer after every session. Done consistently, this prevents rot, odor, and premature delamination.
Let's be honest — the hardest part of this protocol isn't any individual step. It's doing all three consistently. The airing-out step requires you to not be lazy about it after a tired session. The powder step requires you to remember before you're lacing up. The spray step requires you to do it before you crash out for the night.
The simplest way to make it stick is to keep everything together. We have a small basket near the front door with the cedar inserts, the foot powder, and the spray. When the climbing bag comes in, the shoes come out. When the shoes come out, the insoles come out. The powder and spray live right there, so there's no hunting around for them.
If you want the complete prevention-plus-treatment system in one shot, the Natural Foot Powder and Extra Strength Shoe Deodorizer Spray bundle from Lumi Outdoors gives you both products together at a better price. That's the exact combination this protocol is built around — the powder for before, the spray for after. It covers both sides of the problem.
Your climbing shoes are a serious investment. A good pair of shoes, treated well, should last you two to three solid seasons of regular climbing before they need resoling. The 3-step protocol is how you get there.
Ready to try Natural Foot Powder?
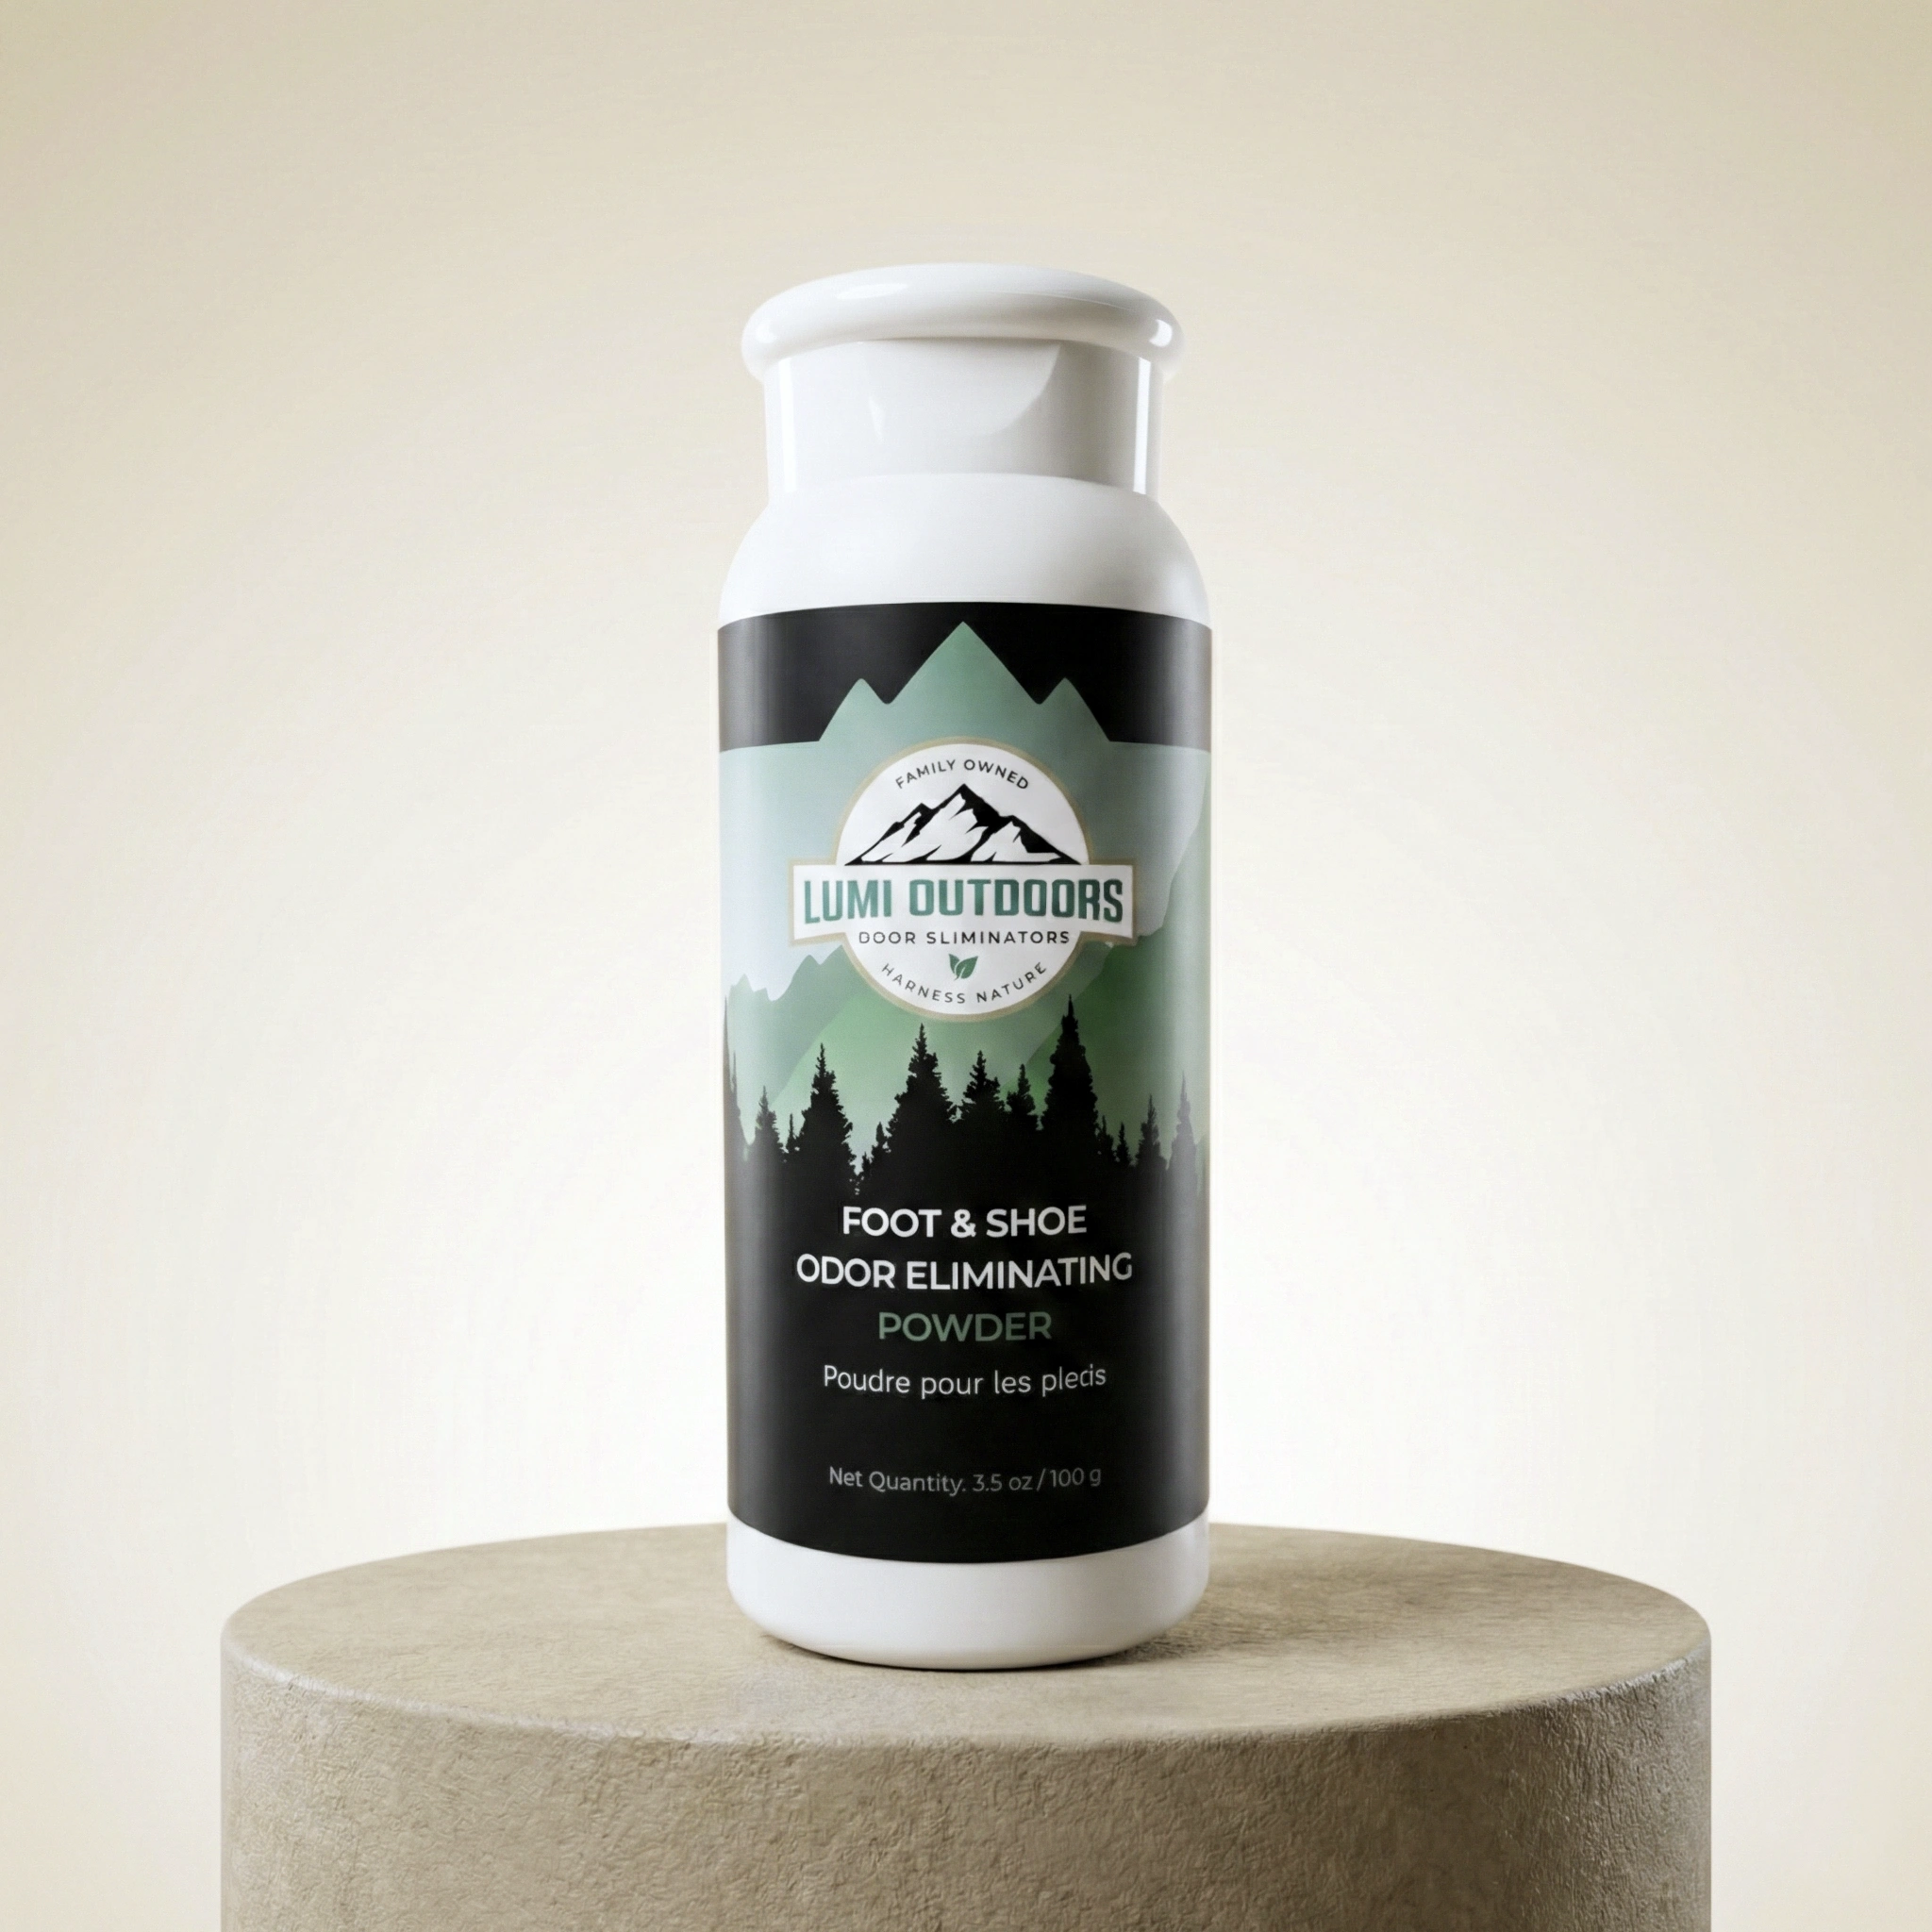
Eliminate odor at the source with our natural, plant-based Natural Foot Powder.
- ABSORBS SWEAT & NEUTRALIZES ODOR
- ALL-NATURAL & TALC-FREE FORMULA
- PROUDLY FAMILY-OWNED & MADE IN UTAH
- THE "FRESH CONFIDENCE" GUARANTEE